Hướng dẫn 301 redirect, www redirect, domain redirect trong asp.net
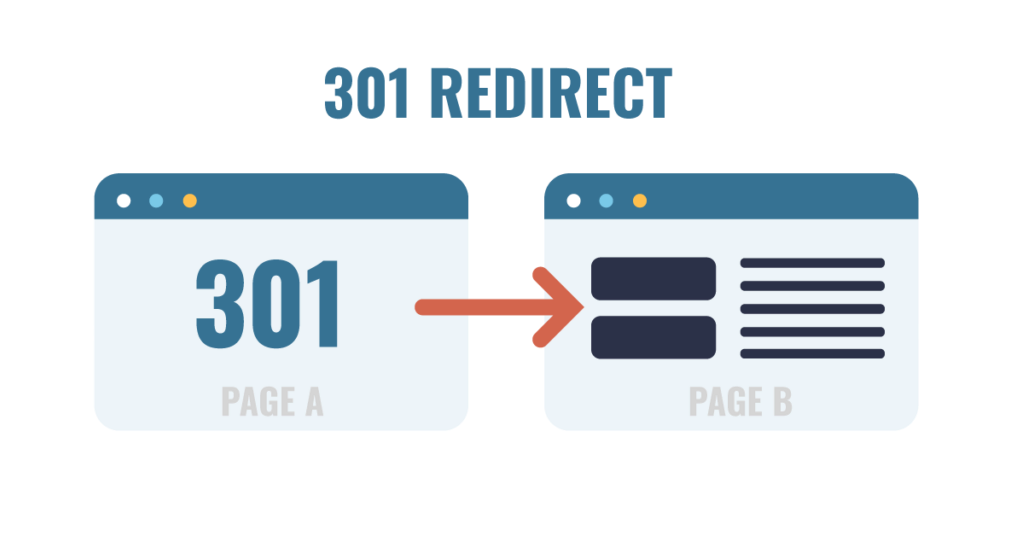
Trong ASP.NET, việc thiết lập chuyển hướng 301 (301 Redirect), chuyển hướng từ www đến non-www (hoặc ngược lại), và chuyển hướng domain có thể được thực hiện bằng cách sử dụng các phương pháp trong file Web.config.Dưới đây là hướng dẫn chi tiết về cách thực hiện các loại chuyển hướng này:
1. Hướng dẫn 301 redirect, www Redirect, Domain Redirect trong asp.net
Trước tiên, hãy tạo tệp web.config trong thư mục gốc của bạn nếu nó chưa có.
Thứ hai, đặt đoạn mã sau vào tệp web.config của bạn
Trường hợp 1: Chuyển hướng từ www đến non-www hoặc ngược lại
- Chuyển hướng từ www đến non-www
Nếu bạn muốn chuyển hướng tất cả các yêu cầu từ www.example.com đến example.com, bạn có thể thêm đoạn mã sau vào file Web.config:
<configuration>
  <system.webServer>
    <rewrite>
      <rules>
        <rule name="Redirect WWW to non-WWW" stopProcessing="true">
          <match url="(.*)" />
          <conditions>
            <add input="{HTTP_HOST}" pattern="^www\.example\.com$" />
          </conditions>
          <action type="Redirect" url="http://example.com/{R:1}" redirectType="Permanent" />
        </rule>
      </rules>
    </rewrite>
  </system.webServer>
</configuration>
- Chuyển hướng từ non-www đến www
Ngược lại, nếu bạn muốn chuyển hướng tất cả các yêu cầu từ example.com đến www.example.com, hãy sử dụng mã sau:
<?xml version="1.0" encoding="UTF-8"?>Redirect non-WWW to WWW
<configuration>
<system.webServer>
<rewrite>
<rules>
<rule name="" stopProcessing="true">example
<match url="(.*)" />
<conditions>
<add input="{HTTP_HOST}" pattern="^\.com$" />example
</conditions>
<action type="Redirect" url="http://www..com/{R:0}" redirectType="Permanent" />
</rule>
</rules>
</rewrite>
</system.webServer>
</configuration>
Trường hợp 2: Chuyển hướng 301 redirect tất cả tên miền về 1 tên miền
<?xml version="1.0" encoding="UTF-8"?>example
<configuration>
<system.webServer>
<rewrite>
<rules>
<rule name="Enforce canonical hostname" stopProcessing="true">
<match url="(.*)" />
<conditions>
<add input="{HTTP_HOST}" negate="true" pattern="^www\.\.com$" />example
</conditions>
<action type="Redirect" url="http://www..com/{R:0}" redirectType="Permanent" />
</rule>
</rules>
</rewrite>
</system.webServer>
</configuration>
Trường hợp 3: Chuyển hướng 301 Redirect trong Web.config
Chuyển hướng 301 là một kiểu chuyển hướng vĩnh viễn. Điều này thường được sử dụng để chuyển hướng từ một URL cũ sang một URL mới.
Bạn có thể thêm đoạn mã sau vào file Web.config của bạn:
<configuration>
  <system.webServer>
    <rewrite>
      <rules>
        <rule name="301 Redirect Example" stopProcessing="true">
          <match url="^old-page$" />
          <action type="Redirect" url="/new-page" redirectType="Permanent" />
        </rule>
      </rules>
    </rewrite>
  </system.webServer>
</configuration>
Trong ví dụ trên:
old-pagelà URL bạn muốn chuyển hướng từ.new-pagelà URL bạn muốn chuyển hướng đến.
Trường hợp 4: Chuyển hướng Domain
Nếu bạn cần chuyển hướng từ một tên miền cũ sang tên miền mới, bạn cũng có thể sử dụng file Web.config.
Ví dụ, nếu bạn muốn chuyển hướng từ olddomain.com sang newdomain.com, thêm đoạn mã sau:
<configuration>
  <system.webServer>
    <rewrite>
      <rules>
        <rule name="Redirect old domain to new domain" stopProcessing="true">
          <match url="(.*)" />
          <conditions>
            <add input="{HTTP_HOST}" pattern="^olddomain\.com$" />
          </conditions>
          <action type="Redirect" url="http://newdomain.com/{R:1}" redirectType="Permanent" />
        </rule>
      </rules>
    </rewrite>
  </system.webServer>
</configuration>
Hy vọng các hướng dẫn trên sẽ giúp bạn thiết lập các loại chuyển hướng cần thiết trong ứng dụng ASP.NET của bạn.